Creating a quilted boxy pouch pattern is a rewarding and creative sewing project that combines functionality with personal style. This type of pouch is highly versatile perfect for organizing makeup, toiletries, craft supplies, sewing notions, or even as a travel case. The boxy shape offers generous interior space, while the quilted design adds texture, strength, and a charming handmade touch. Whether you’re a seasoned quilter or a beginner looking to explore new techniques, learning how to design and sew a quilted boxy pouch can be both enjoyable and practical.
What Is a Quilted Boxy Pouch?
Design and Functionality
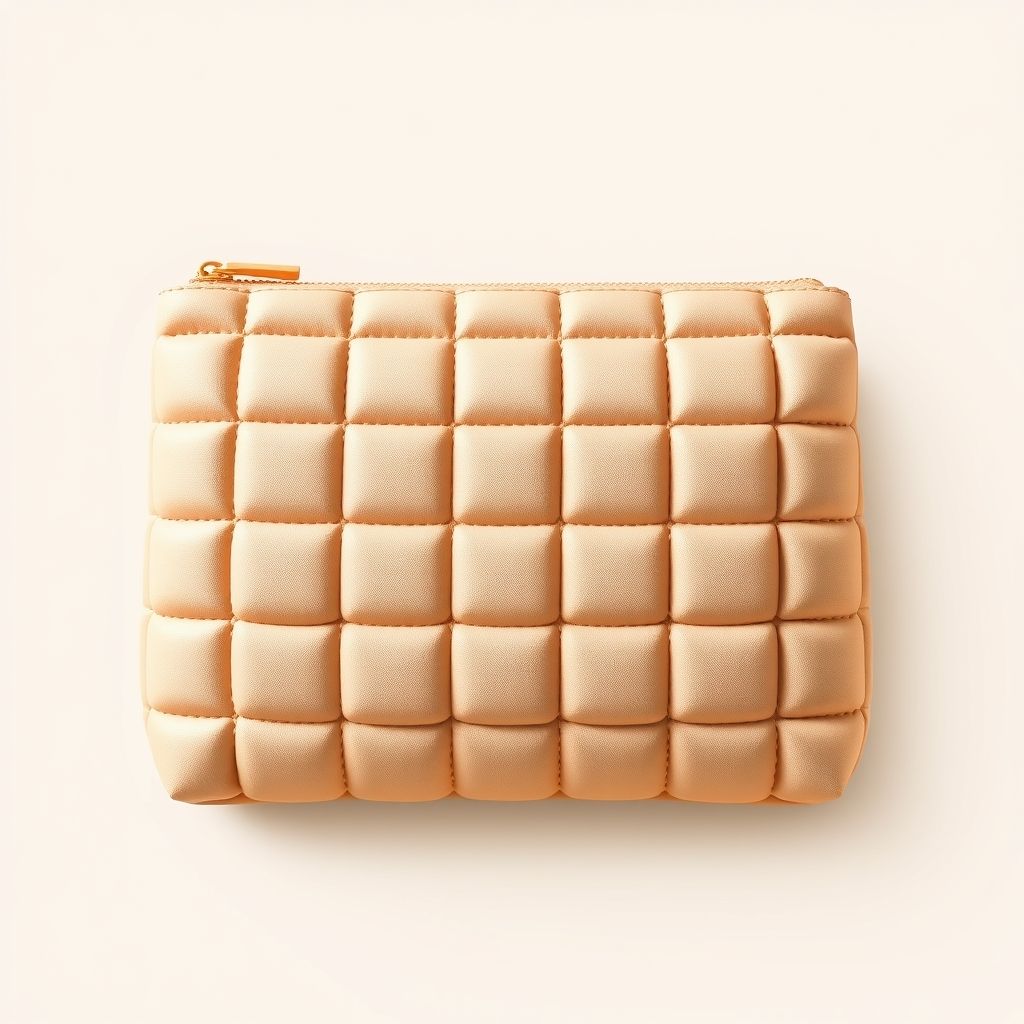
A quilted boxy pouch is a soft, rectangular bag with flat sides, a squared-off base, and typically a zippered closure along the top. Quilting adds structure and decorative flair to the fabric by layering it with batting and stitching patterns through all layers. The end result is a durable, padded pouch that maintains its shape while offering protection for its contents.
Why Choose Quilted Over Regular?
Compared to standard fabric pouches, quilted boxy pouches have several advantages:
- Added durability: Quilting reinforces the fabric, making the pouch more long-lasting.
- Protection: The batting layer provides a cushion for fragile items like makeup containers or sewing tools.
- Aesthetic appeal: Quilted stitches and fabric combinations create a visually pleasing, artisanal finish.
Materials Needed for a Quilted Boxy Pouch
Before you start cutting and sewing, gather the following materials:
- Exterior fabric: Quilting cotton works best due to its softness and stability.
- Lining fabric: Choose a complementary cotton fabric for the inside of the pouch.
- Batting: Fusible or sew-in batting for quilting and added structure.
- Zipper: A nylon coil zipper, typically 10 to 12 inches in length.
- Thread: All-purpose or quilting thread that matches or contrasts with your fabric.
- Optional interfacing: For added stiffness, especially if you want the pouch to stand upright.
Step-by-Step Instructions
Step 1: Cut the Fabric
For a medium-sized pouch, you’ll need to cut the following pieces:
- Two 10 x 7 pieces of exterior fabric
- Two 10 x 7 pieces of lining fabric
- Two 10 x 7 pieces of batting
Cut additional fabric strips if you plan to add zipper tabs or side handles.
Step 2: Quilt the Exterior Panels
Layer the exterior fabric over the batting with the right side facing up. Pin or baste the layers together. Then, use a sewing machine to stitch your desired quilting pattern diagonal lines, grids, or free-motion designs. Quilting through both layers adds texture and strength.
Step 3: Attach the Zipper
Place one quilted panel right side up. Align the zipper along the top edge, teeth facing down. Place a lining piece right side down on top of the zipper, forming a fabric sandwich. Use a zipper foot to stitch along the edge. Repeat the process for the other side.
Step 4: Sew the Sides
With the zipper partially open, match the quilted exterior pieces right sides together and the lining pieces right sides together. Pin all around, leaving a 3-inch gap in the lining for turning. Sew around the entire perimeter using a 1/4′ seam allowance.
Step 5: Box the Corners
To create the boxy shape, pinch each corner of the exterior and lining fabric so the side and bottom seams align. Mark and sew a straight line about 1.5 from the point, then trim the excess fabric. This step gives the pouch its signature 3D form.
Step 6: Turn and Finish
Turn the pouch right side out through the opening in the lining. Push out the corners and close the gap by hand-stitching or machine sewing the opening shut. Push the lining inside the pouch and smooth it out for a neat finish.
Customization Ideas
Patchwork Quilting
Instead of using a single piece of fabric, you can piece together different fabric squares or strips to create a patchwork exterior. This adds visual interest and allows you to use up scraps.
Embroidery Accents
Add personalized embroidery before quilting to give your pouch a one-of-a-kind flair. Initials, flowers, or geometric designs work beautifully on solid-colored fabric.
Interior Pockets
Sew one or more small pockets into the lining to hold tiny items like pins, lip balm, or thread spools. This is especially useful if the pouch will be used for organizing tools.
Handles or Tabs
Adding a small loop or handle on the side makes the pouch easier to carry. Use fabric scraps or bias tape to create tabs and sew them into the side seams before final assembly.
Best Uses for a Quilted Boxy Pouch
This practical accessory can be adapted for countless uses:
- Travel kit: Use it to organize toiletries, medicine, or chargers in your suitcase.
- Makeup bag: The padded structure protects delicate makeup items and brushes.
- Sewing or knitting kit: Store thread, needles, stitch markers, or small tools.
- Kids’ art supplies: Fill it with crayons, scissors, or glue sticks for creativity on the go.
Care and Maintenance
Because a quilted boxy pouch is made of cotton and batting, it’s generally safe to spot-clean or hand wash if needed. Use cold water and mild detergent. To keep the shape intact, air dry the pouch and press it with a warm iron, avoiding direct contact with the zipper.
Troubleshooting Common Issues
- Wavy zippers: Ensure even tension while sewing and use zipper tabs to reduce bulk at the ends.
- Uneven quilting: Baste the layers carefully and use a walking foot to keep fabric from shifting.
- Pouch not standing up: Use heavier interfacing or add foam for a more structured pouch.
Learning how to make a quilted boxy pouch pattern is a valuable skill for crafters of all levels. It allows you to blend sewing, quilting, and design into one functional item. With endless fabric combinations and customization options, each pouch you make can be as unique as the person it’s made for. Whether you’re sewing for yourself, for gifts, or for craft fairs, a quilted boxy pouch is a satisfying project that balances creativity with utility.